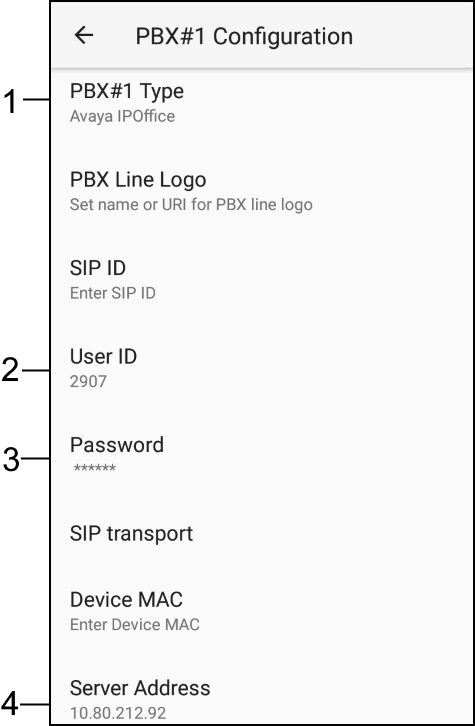
Number | Item |
|---|---|
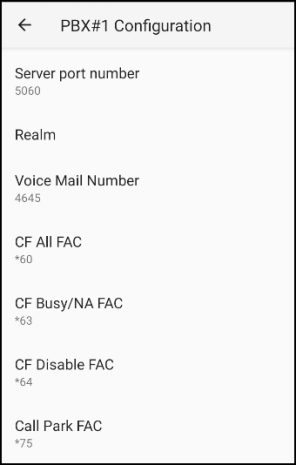
1 | PBX Type |
2 | User ID |
3 | Password |
4 | SIP transport |
5 | Server Address |
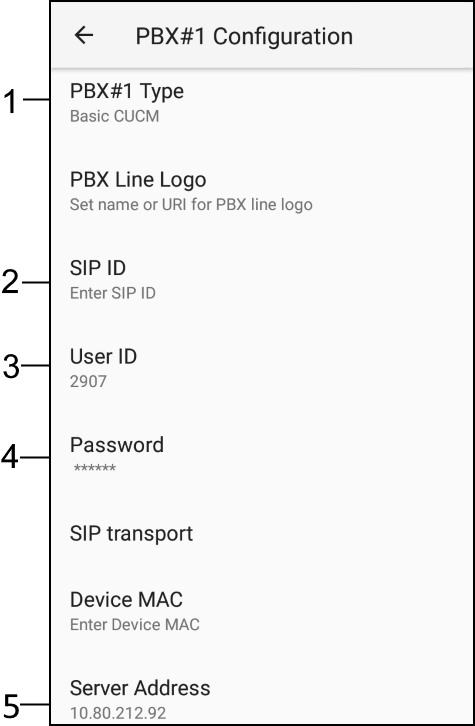
Number | Item |
|---|---|
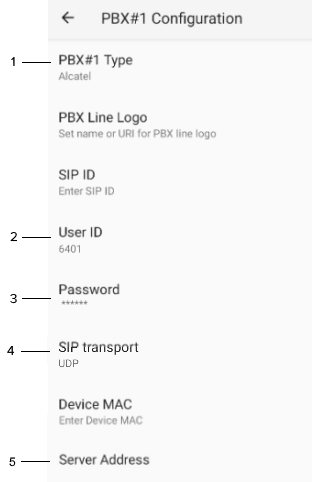
1 | PBX Type |
2 | User ID |
3 | Password |
4 | Server Address |
Number | Item |
|---|---|
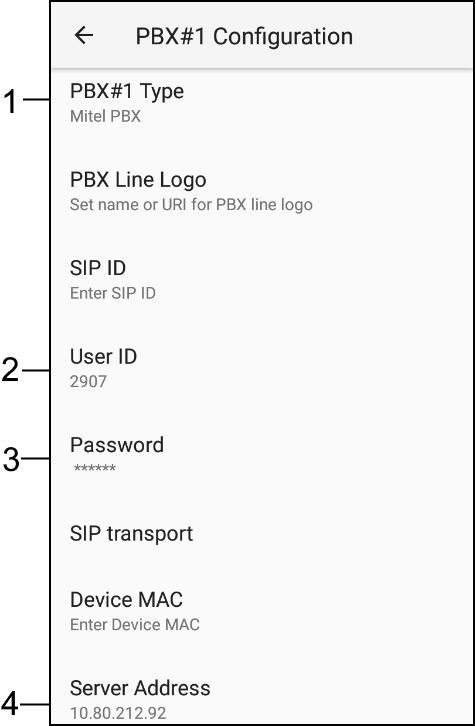
1 | PBX Type |
2 | User ID |
3 | Password |
4 | Server Address |
Number | Item |
|---|---|
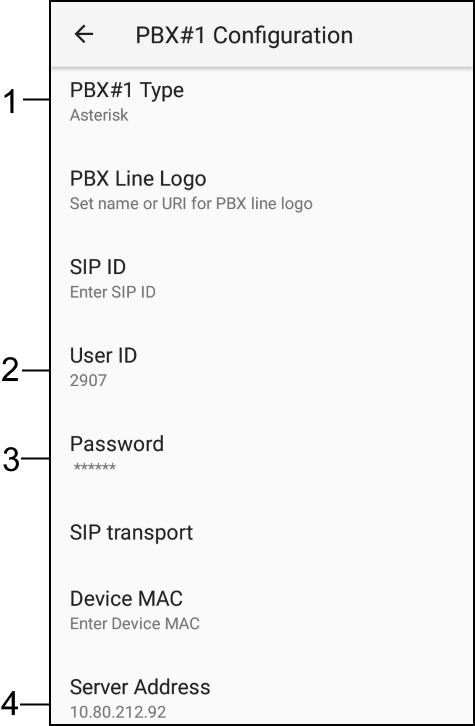
1 | PBX Type |
2 | User ID |
3 | Password |
4 | Server Address |
Number | Item |
|---|---|
1 | PBX Type |
2 | SIP ID |
3 | User ID (optional) |
4 | Password (optional) |
5 | Server Address |
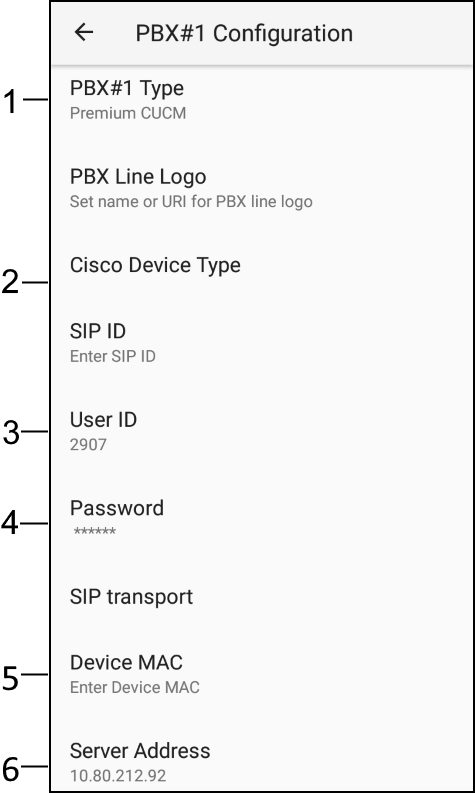
Number | Item |
|---|---|
1 | PBX Type |
2 | CISCO Device Type |
3 | User ID (optional) |
4 | Password (optional) |
5 | MAC Address |
6 | Server Address |

Number | Item |
|---|---|
1 | PBX Type |
2 | User ID |
3 | Password |
4 | Server Address |
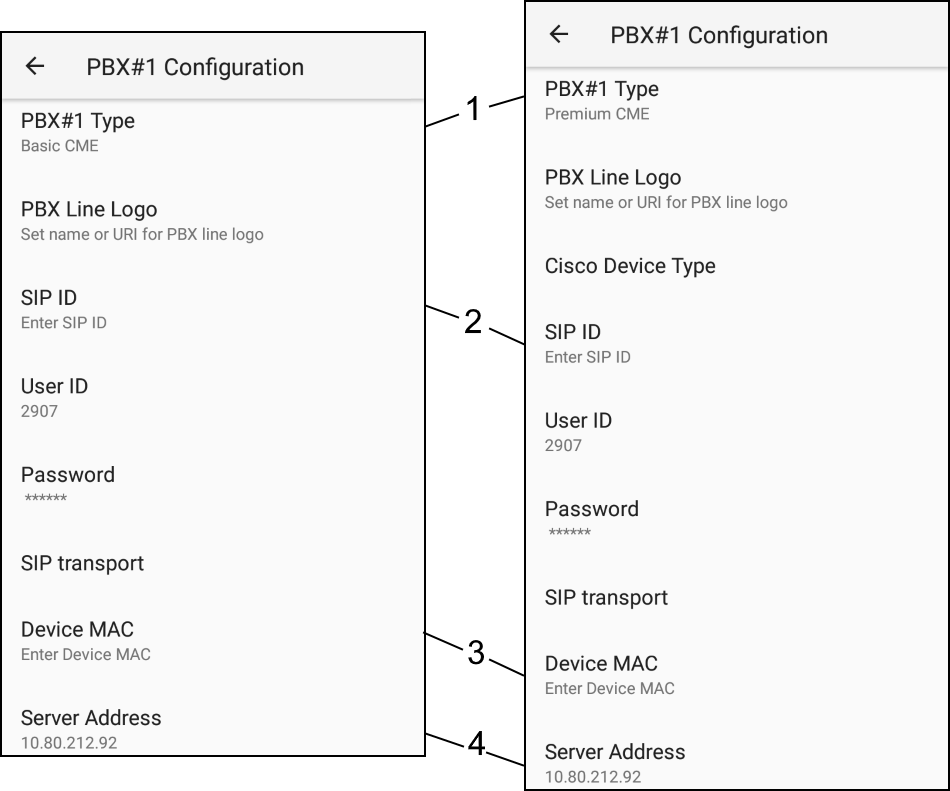
Number | Item |
|---|---|
1 | PBX Type |
2 | SIP ID |
3 | Device MAC |
4 | Server Address |