Setting | Description |
|---|---|
Output Formatting | When Output Formatting is disabled, the default output result formatting is outlined below: Standard identification tools (Read Barcode, Read DPM, Read DPM & Barcode, and Datacode) will have their Decodes.formattedOutputValue output. If there is more than one standard identification tool, the additional tool's Decodes.formattedOutputValue will be appended to the existing result data. The output result will be in the order of the tools on the flowbuilder. For example barcodeTool1barcodeTool2barcodeTool3 Machine Vision Tools add the overall job success field (Pass/Fail) to the resulting output. If a standard identification tool is in the job, the job success field displays in front of the output result with a comma separator between the job success and barcode data. |
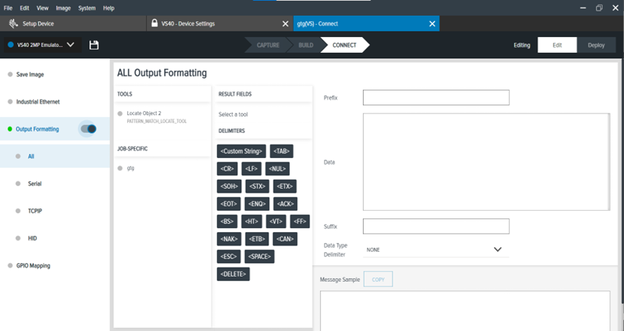
Output Channel | Formatting can be customized to be unique for each communication channel. This allows you to have one format configuration for Serial (RS-232) output, a second for TCPIP output, and a third for (USB) HID mode output. Select All to keep formatting the same for all output channels. |
Tools | When building your formatted output, choose various outputs (properties) available for each of the tools you are using: |
Job Specific | Choose elements to add to the formatting string related to the entire job instead of a specific tool within the job.
Examples include:
|